When you created your campaign you may have skipped the second page to provide details for your event, or you need to make a change to those details. This article will guide you through editing your Event Details.
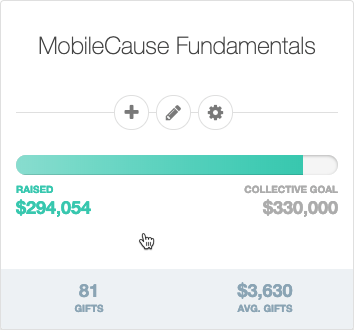
- Go into your Campaign by clicking on one of your Campaign tiles.
- In the Selections on the left, click on Event Details.

By default, the Event Details will use your Campaign Name for the Event Title, and everything else will be left blank for you to add or edit:

- Event Title: This will appear on the top of your Ticketing forms. Adjust the title to fit the name of your Event.
- Event Description: This will be included in the header of your Ticketing form. Describe your event, use a catchphrase or subtitle to your event, etc. You have a maximum of 255 characters for this description.
- Select an event type: There are two types of events: Online and Venue.
- Online: If you are hosting an online event, there aren't extra details to add.
- Venue: If you switch it to Venue, you can enter the Venue's name and location. This will be included on the Ticketing form with a Google Maps link included and on the receipts/tickets.
- Start Date / End Date: Provide the time of your event and it will be included in the ticketing form and on the receipts/tickets.
- Save: Make sure you click Save at the bottom of the page! This page does not automatically save as you go.
Now, with your Event Details in place your EventWorks activities, such as the Ticketing Activity will be populated with your important details of your Event.