Checkboxes can be used for many things. You can give your supporters the option to choose multiple things from a list or maybe you want to add a disclaimer that you would like to thank them on social media. Any time you need that acceptance or acknowledgment or selection from a list, you can use a checkbox.


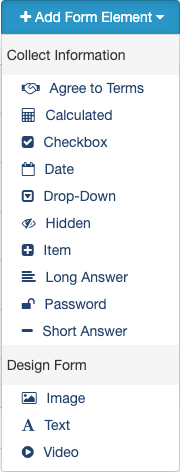
To add Checkboxes, you may want to add it to its own Section, as outlined here. You may also want to add descriptive text about it or an image with Impact Metrics, etc. When you're ready to add the checkbox, select it from the Add Form Element button in (any of) the Sections.
You will be presented with the Add Form Element - Checkbox design page.

Display Label
The Display Label is what will appear by the checkbox on the form for your supporters to select. This could be a single word or a full description of why they should check the box.
Reporting Label
Since the Display Label may be a longer description, it is a good idea to have a separate, simpler Reporting Label.
- After you save the checkbox element you can then reopen it to update the Reporting Label. To do so, click edit in the Reporting Label line and it will open with the Display Label's wording as the default.
- You can use this or change it as desired.
Default Status
By default, the status for the checkbox is checked, meaning, when your supporter first comes to the form, they are automatically agreeing or selecting the checkbox and they would need to uncheck it if they don't want that choice.
If you would prefer to switch this to unchecked by default, use the drop-down menu to select the default status you desire.

Click Save when you are finished personalizing the element and it will be added to your form.